I know I'm late to the party here, but in recent months nut butters have become something of a staple in our house. Not only do they make a good quick snack with an apple they are great for adding to satay sauces and soups, liberally spreading on toast for breakfast and I also use them extensively in my baking.
I know that there are some amazing brands of nut butters available (and some less so, I'm looking at you Nutella!) So why bother to make your own I hear you ask?
Well, nut butters are in fact incredibly easy and quick to make in the comfort of your own home, provided you have a food processor or equivalent bit of kit, there are just one or two ingredients in the recipe and you can use any nut or seed and create any flavour you like. It would be rude not to list the virtuous qualities qualities of homemade nut butters also... vegan, gluten free and filled with healthy natural oils, proteins and nutrients.
Here follows a few of my basic recipes which are still in progress. I have many more ideas I'd like to try out, but wanted to bookmark the bare bones recipe for future reference.
For those on a budget, I recommend buying nuts from Lidl as they provide the best quality and value for money. If you're Leicester based you can also try The International Supermarket. When sourcing your nuts look for blanched ones rather than skin on nuts - taking the skins of isn't impossible, it's just a real bore!
Each recipe will make one jar of nut butter.
basic nut butter
Ingredients...
- 300g nuts- blanched hazelnuts, almonds, cashew, brazil... any nuts will work
- a good pinch of salt
Method...
Preheat your oven to 180°C/160°C/Gas mark 4.
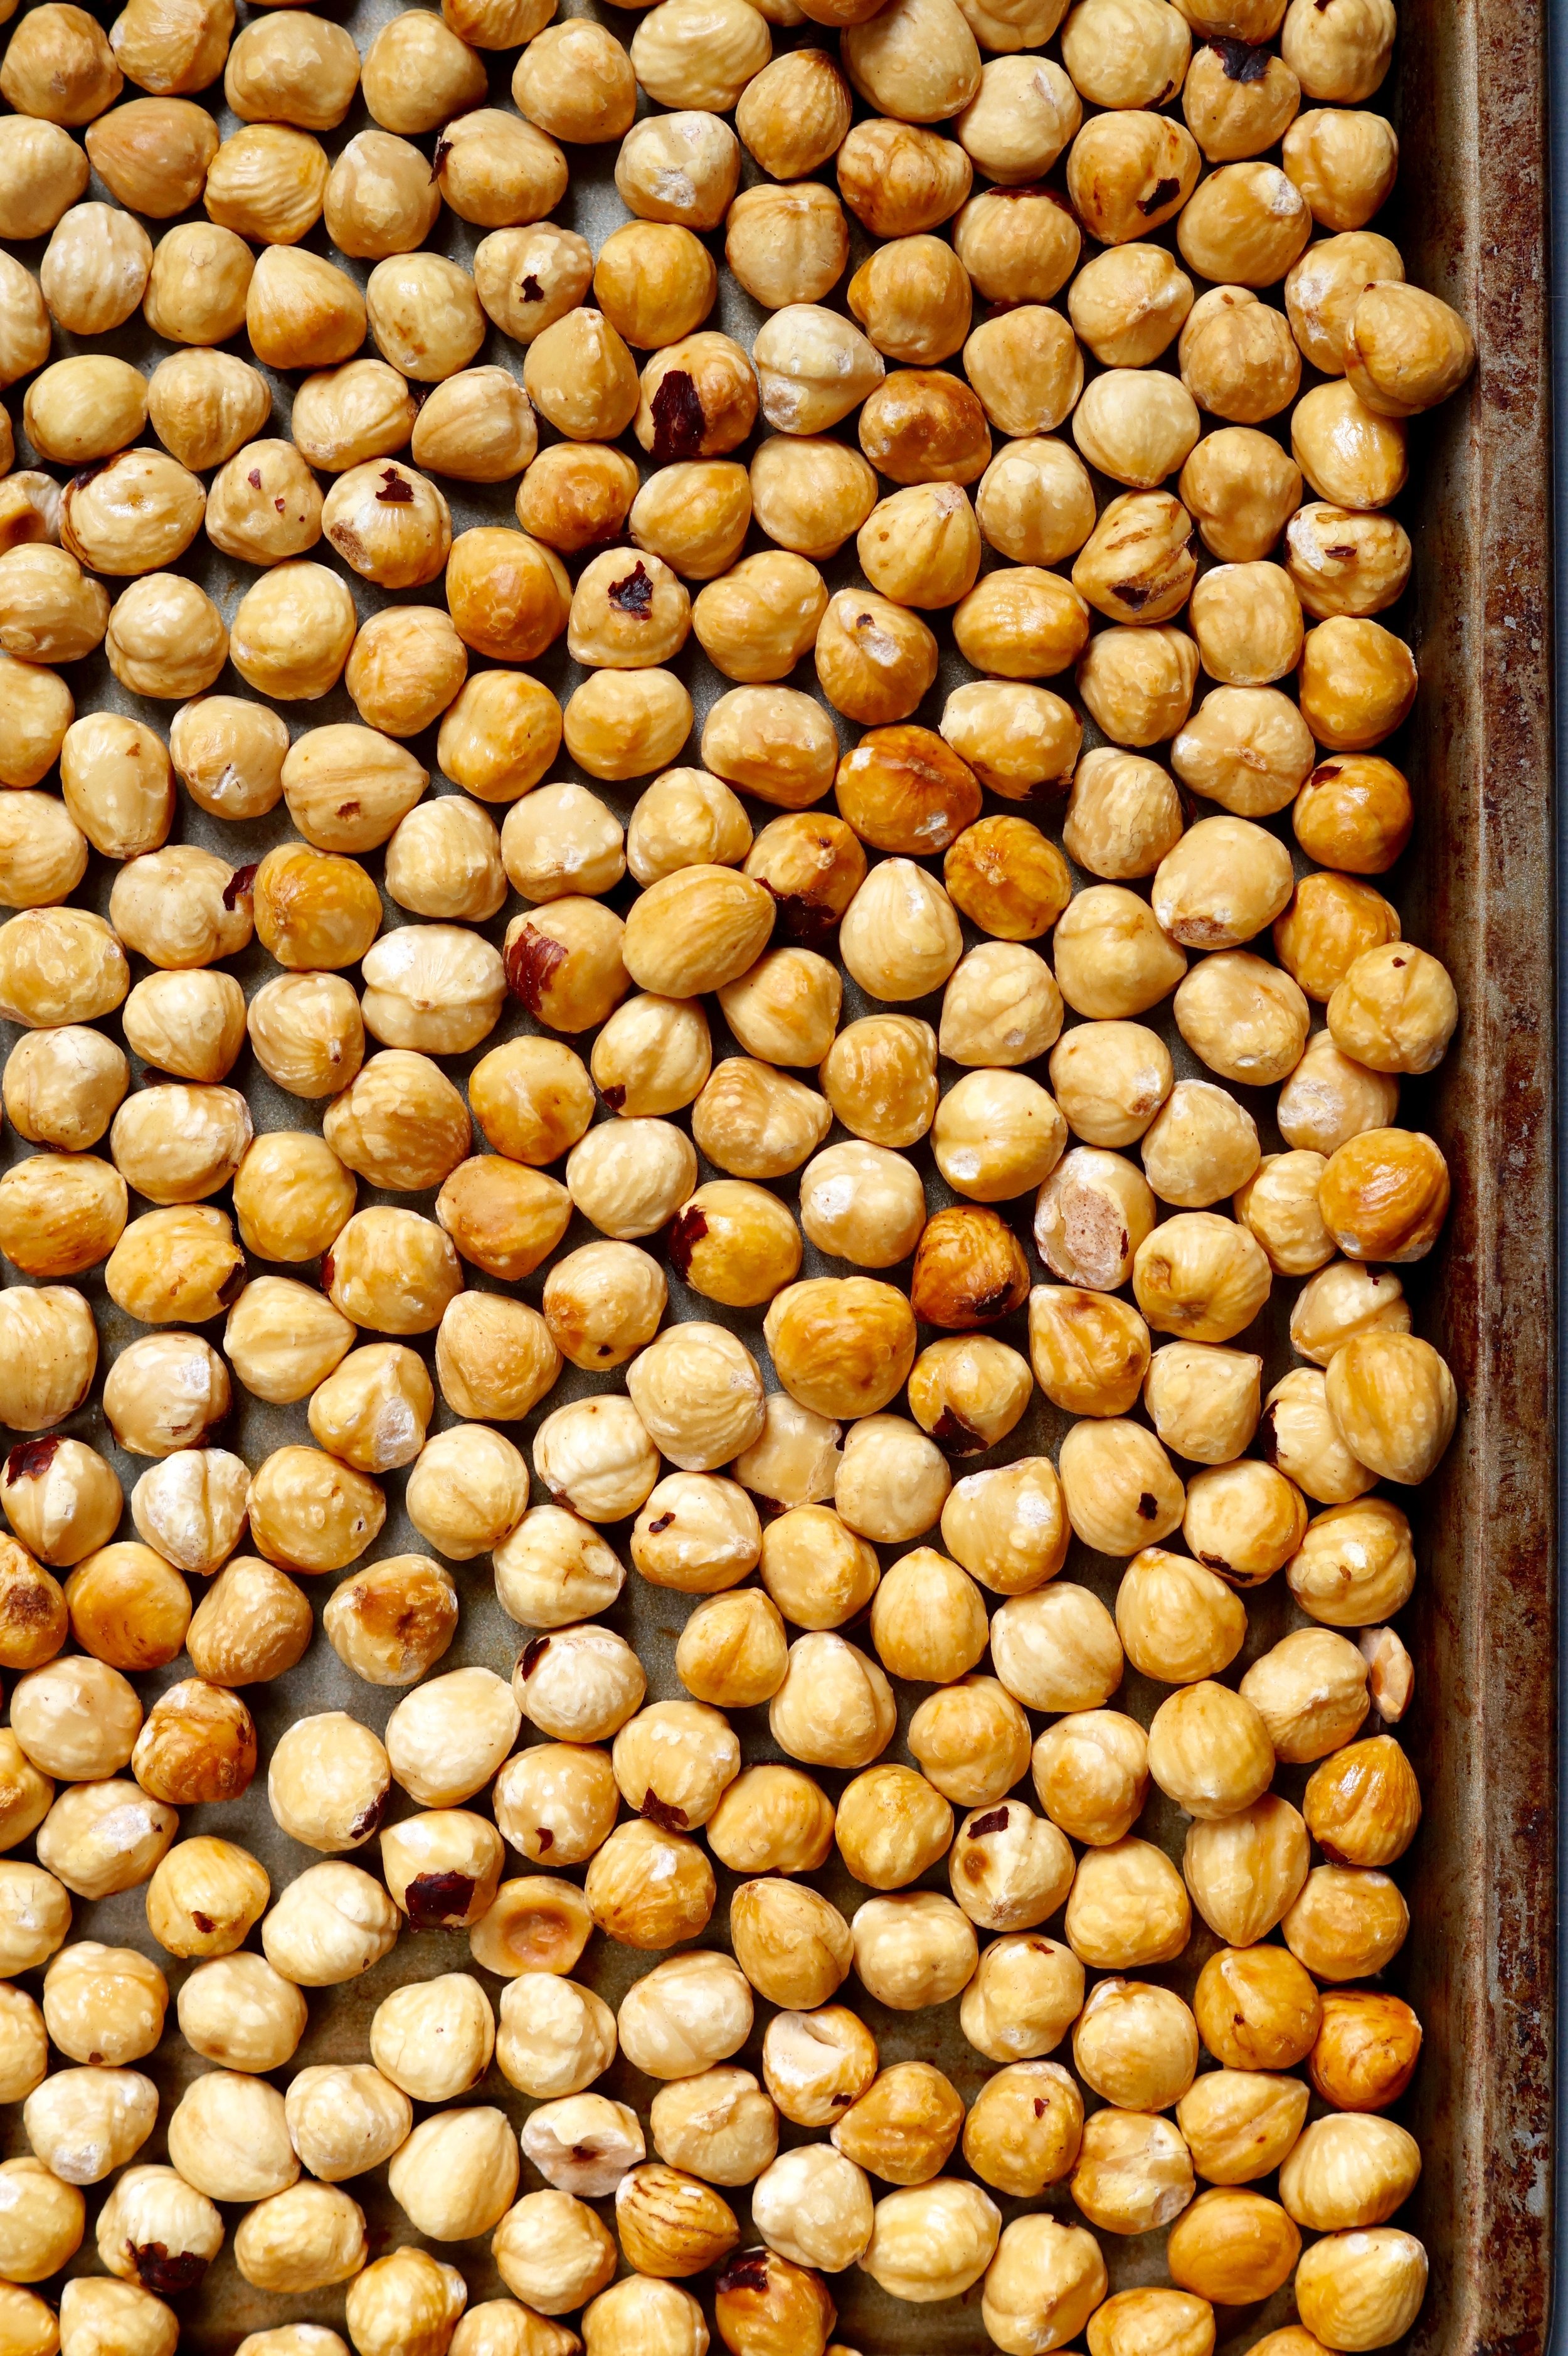
Line a baking tray with parchment paper and spread over the nuts in a single layer. Roast the nuts for 10 to 15 minutes, until golden brown. Remove from the oven and allow to cool.
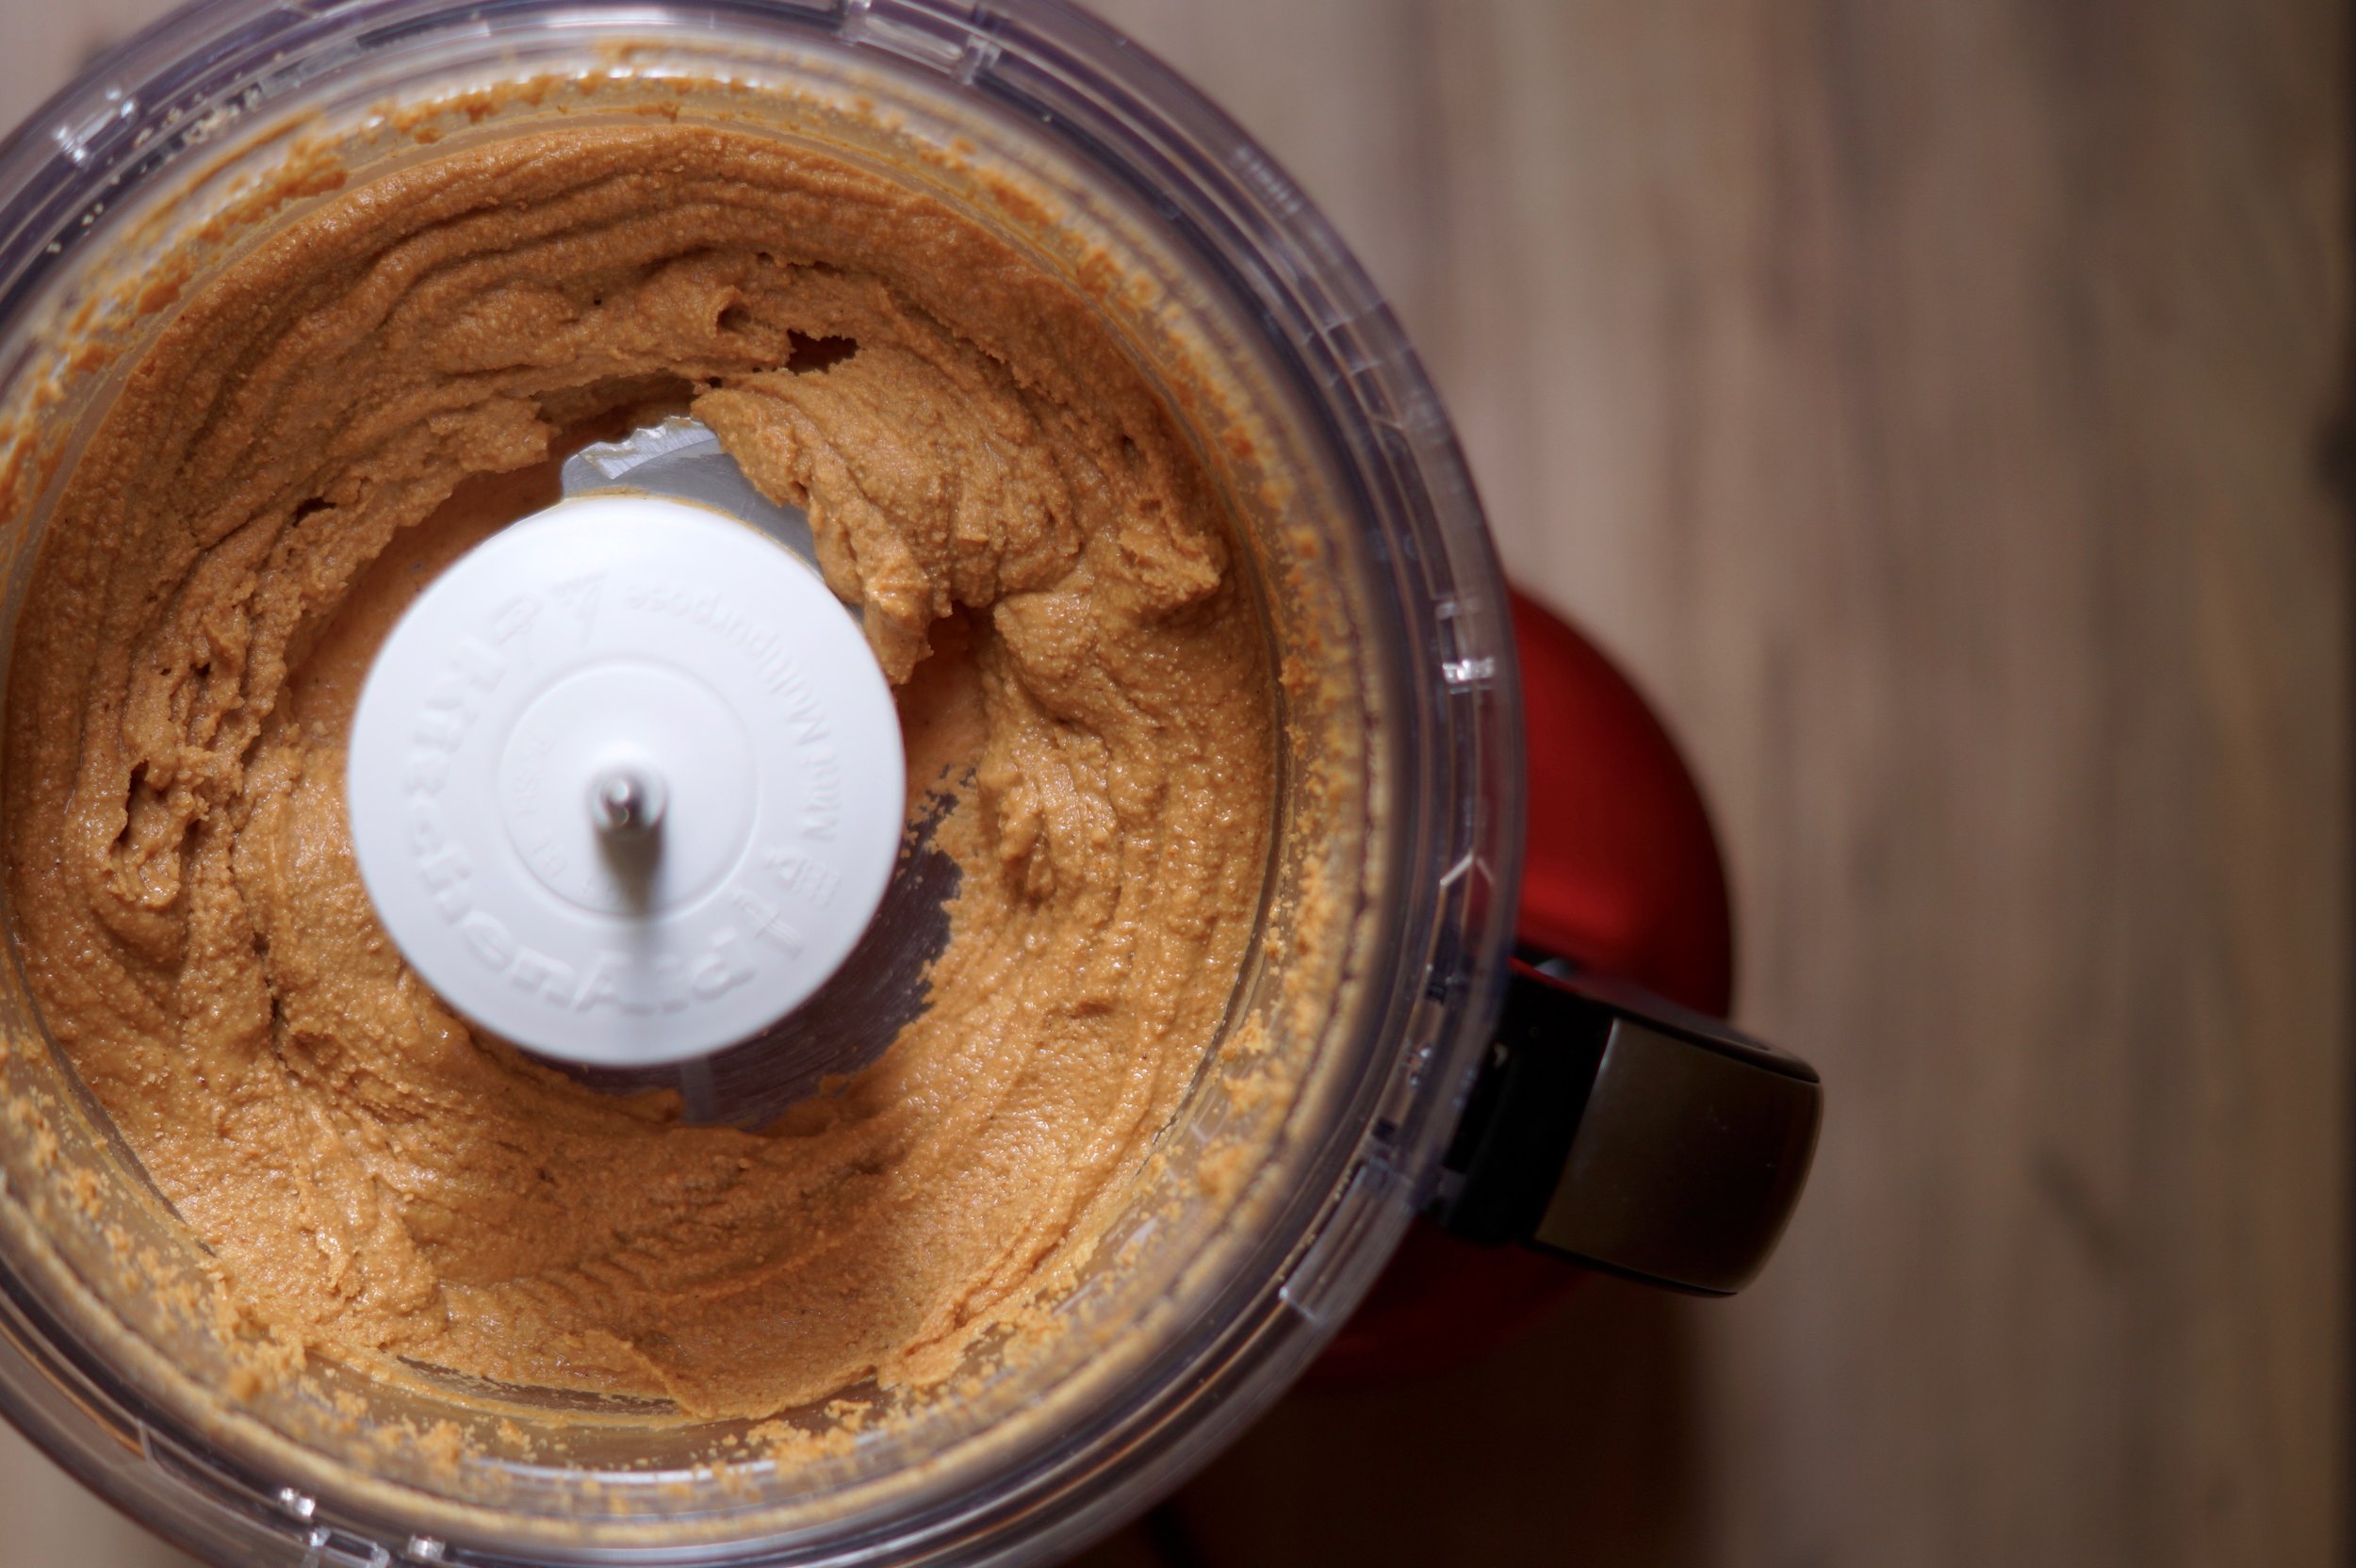
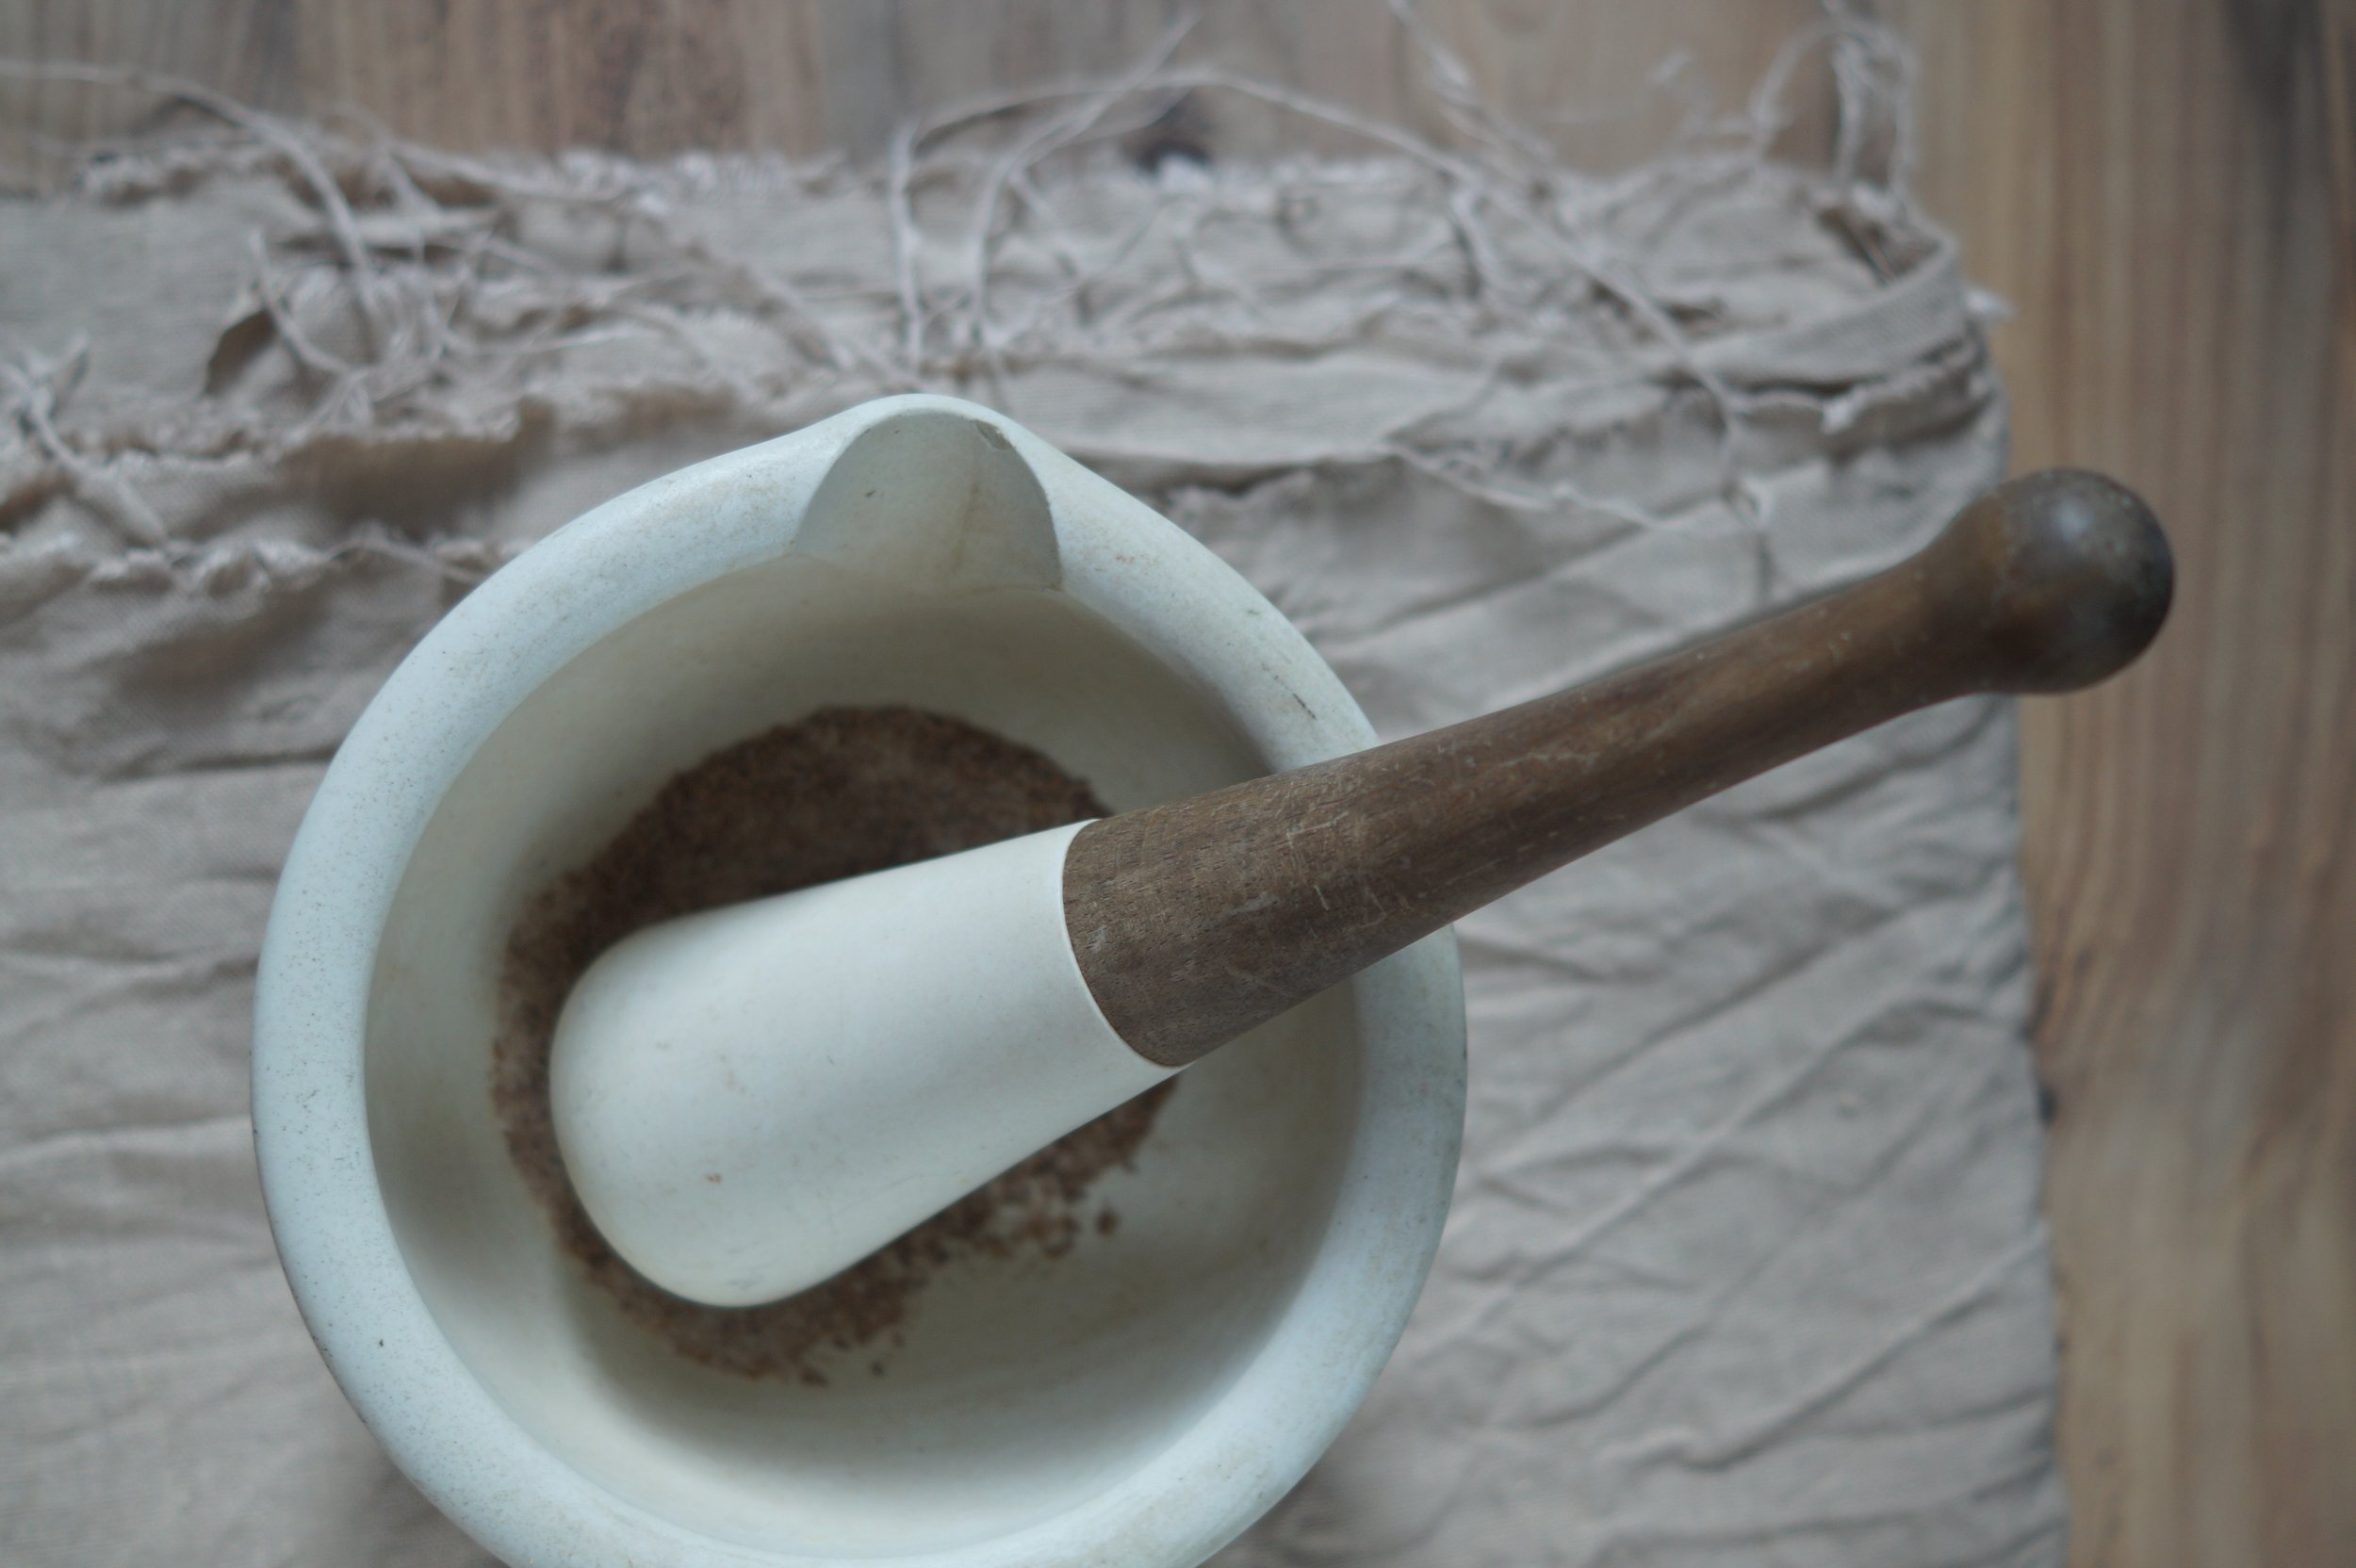
Place the Nuts into the bowl of a food processor, along with a good pinch of salt. Blitz the nuts until they form crumbs, scrape down the sides of the bowl and blitz again until the nuts have completely broken down to form a smooth creamy paste. This can take around 5 minutes, depending on the power of your food processor.
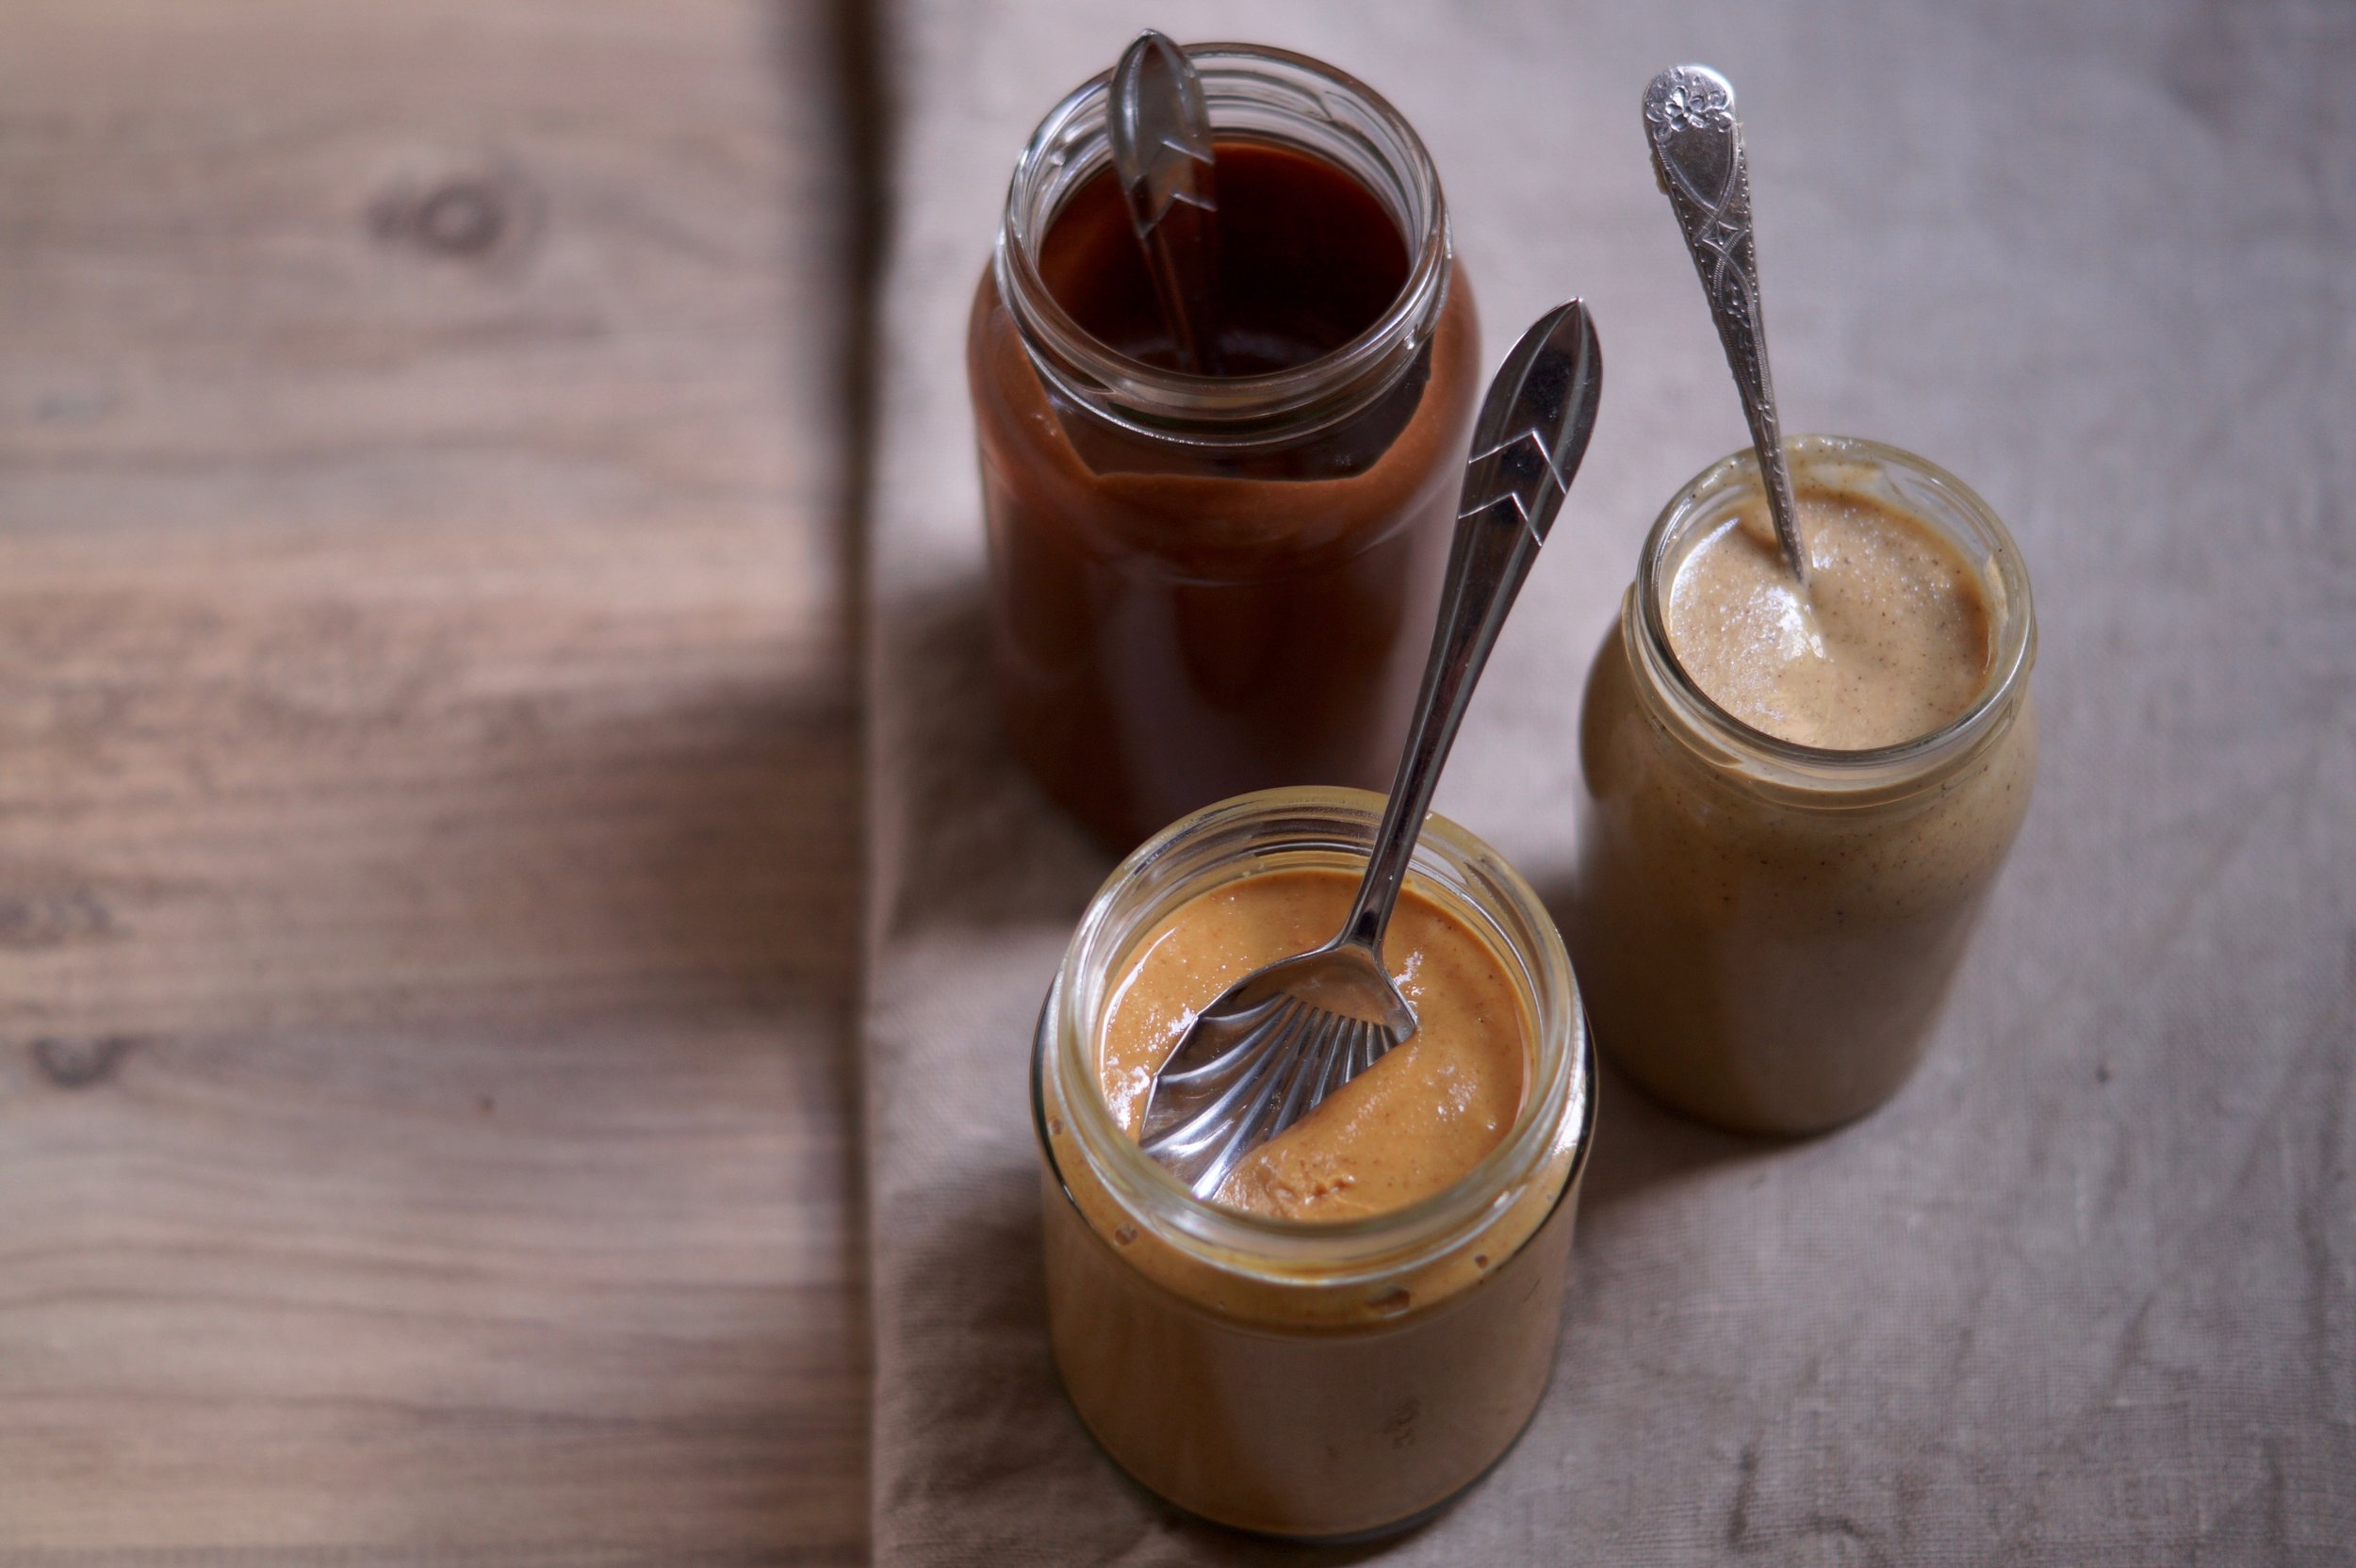
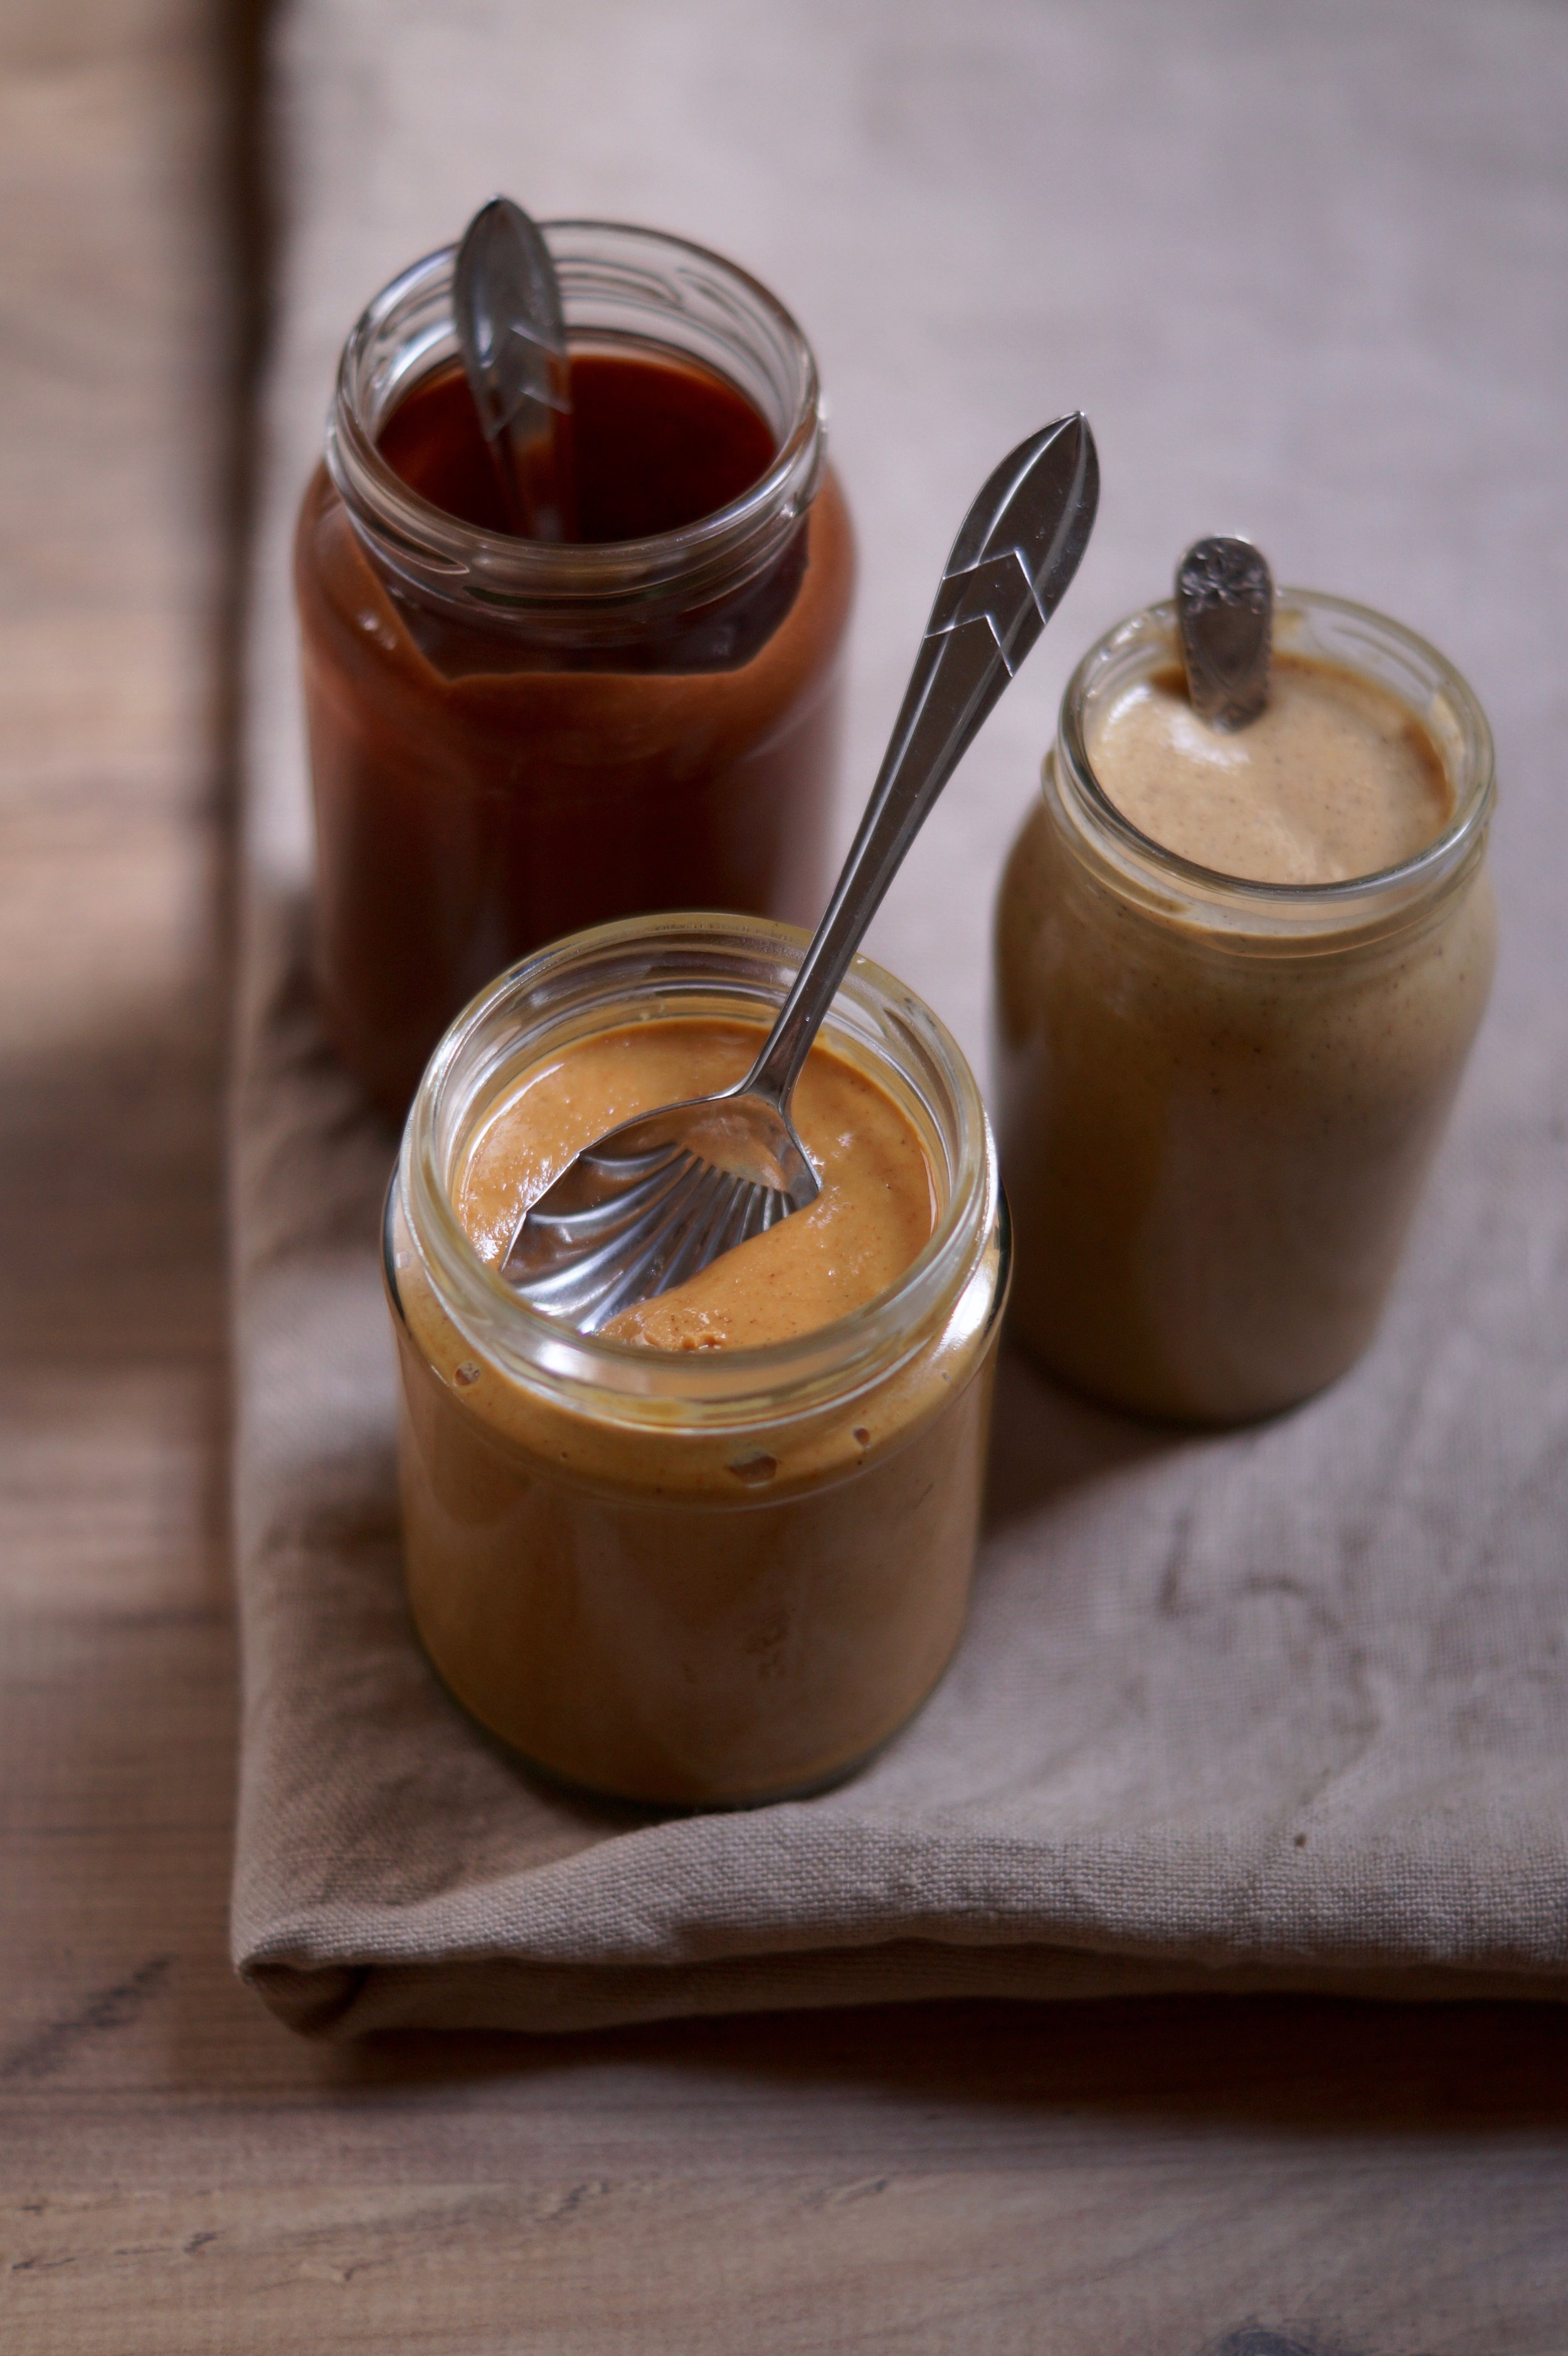
Transfer the Nut Butter to a clean, sterilised jam jar and store for up to two weeks.
peanut butter
Ingredients...
Method...
1 ingredient, that's it! No need to roast these nuts either as that's already been done for you. Just blitz them down following the above method ↑
homemade "Nutella"
Ingredients...
- 150g blanched hazelnuts
- 100g dark chocolate
- A good pinch of salt
Method...
Preheat your oven to 180°C/160°C/Gas mark 4.
Line a baking tray with parchment paper and spread over the nuts in a single layer. Roast the nuts for 10 to 15 minutes, until golden brown. Remove from the oven and allow to cool.
Meanwhile, break the chocolate into pieces and place over a pan of simmering water to melt.
Place the nuts into the bowl of a food processor, along with a good pinch of salt. Blitz the nuts until they form crumbs, scrape down the sides of the bowl and blitz again until the nuts have completely broken down to form a smooth creamy paste. Add in the melted chocolate and blitz for a further 30 seconds until well combined.
Transfer the nut butter to a clean, sterilised jam jar and store for up to two weeks.
MORE IDEAS & tips
More ideas to try...
- There's huge scope for creativity here, use a mixture of nuts to create different flavours
- Try adding almonds or peanuts to your 'Nutella'
- For a sweeter butter add a little maple syrup or honey in the final stages of blitzing
- Vanilla is a lovely addition to 'Nutella' also
- For a nut free option try using seeds, sunflower, pumpkin, sesame, or a mixture of all three
- For a savoury butter try adding spices and dry herbs. One idea I'm dying to try is dukkah butter!!
A few further thoughts...
- Much depends on the power of your food processor, I've just acquired a new one (hence the nut butter excitement!) It's so powerful I don't even need to melt the chocolate for my "Nutella", I just whack it straight in and the mixer breaks it down. However my previous bit of kit could barely make breadcrumbs, let alone nut butter! So for cautionary reason's I've included the melting-the-chocolate step in the recipe above. With a less powerful mixer you can expect a crunchier butter, which is all the better in my book!
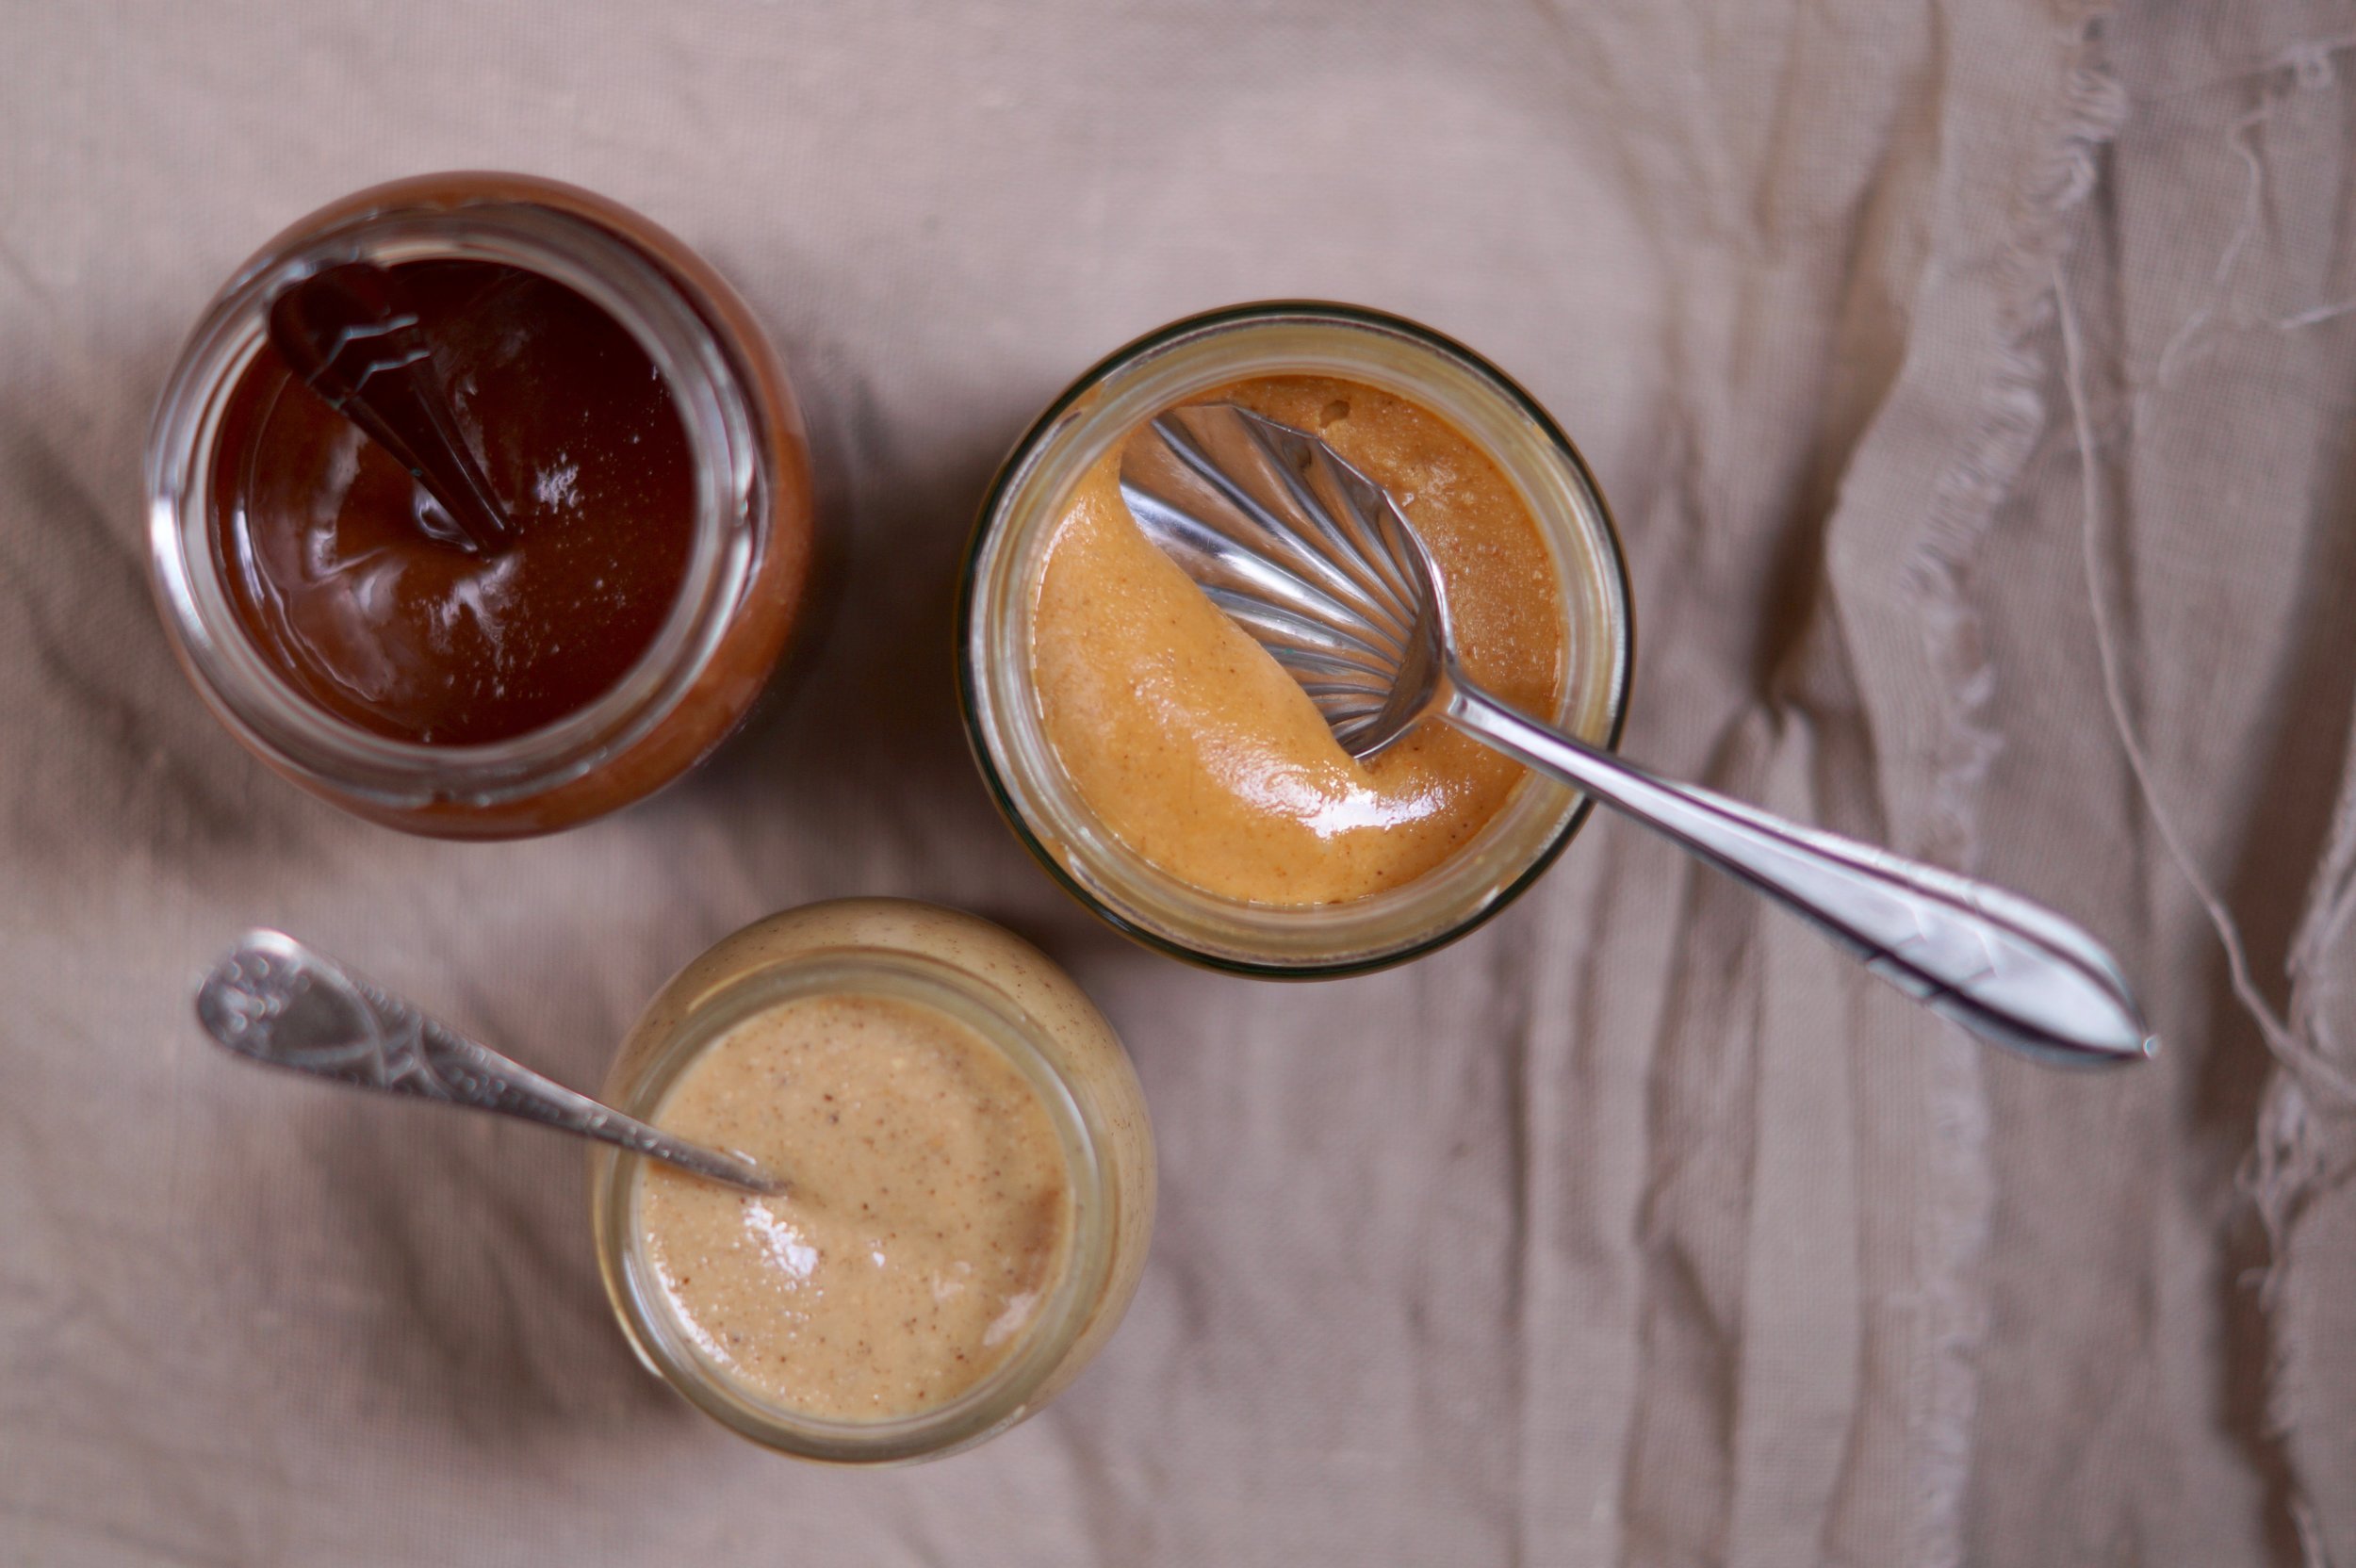
- Different nuts create different results, for example peanuts and almonds deliver a more viscose butter than brazil nuts, which have a higher natural oil content. Equally, adding a sweetener such as honey or maple syrup will thicken a nut butter.
- As always, do give us a shout if you try this recipe or if you have any brilliant ideas for nut butter flavours!