Viewing entries in
Recipe

Recipe: Beetroot and feta rosti

Recipe: Beetroot and feta rosti

I always have mixed feelings about the end of summer, sad to bid farewell to the sunshine which has at last made a timely appearance but delighted to great the new ingredients that Autumn brings, the cooler weather is the perfect excuse to get creative with comfort food in the kitchen.  Most excitingly root veg, I know i'm a complete geek getting excited about vegetables but really, I do love them. Beetroot has always been one of my favourites, I sometimes forget about it and am then delighted to re-discover it and dream up new ways to prepare it, swap carrots for beets in your carrot cake, roast beetroot instead of potatoes for your Sunday roast or, make a low maintenance lunch with this beetroot and feta rosti.

I love dishes you can just pop into the oven and leave to their own devices. This is a lazy dish and should be treated as such, don't get to caught up in the measuring of grated vegetables or worry too much about presentation, eat it straight out of the pan and forget the airs and graces.

I've further plans to create this dish with various other root veg over the next few months, parsnip, butternut squash, celeriac... anything goes.

You will need...

  • 3-4 beetroots, around 250g grated weight
  • 1 medium potato, around 125g grated weight
  • 1 medium onion, around 40g grated weight
  • 1 Tablespoon cornflour
  • Thyme - a couple of sprigs of
  • olive oil
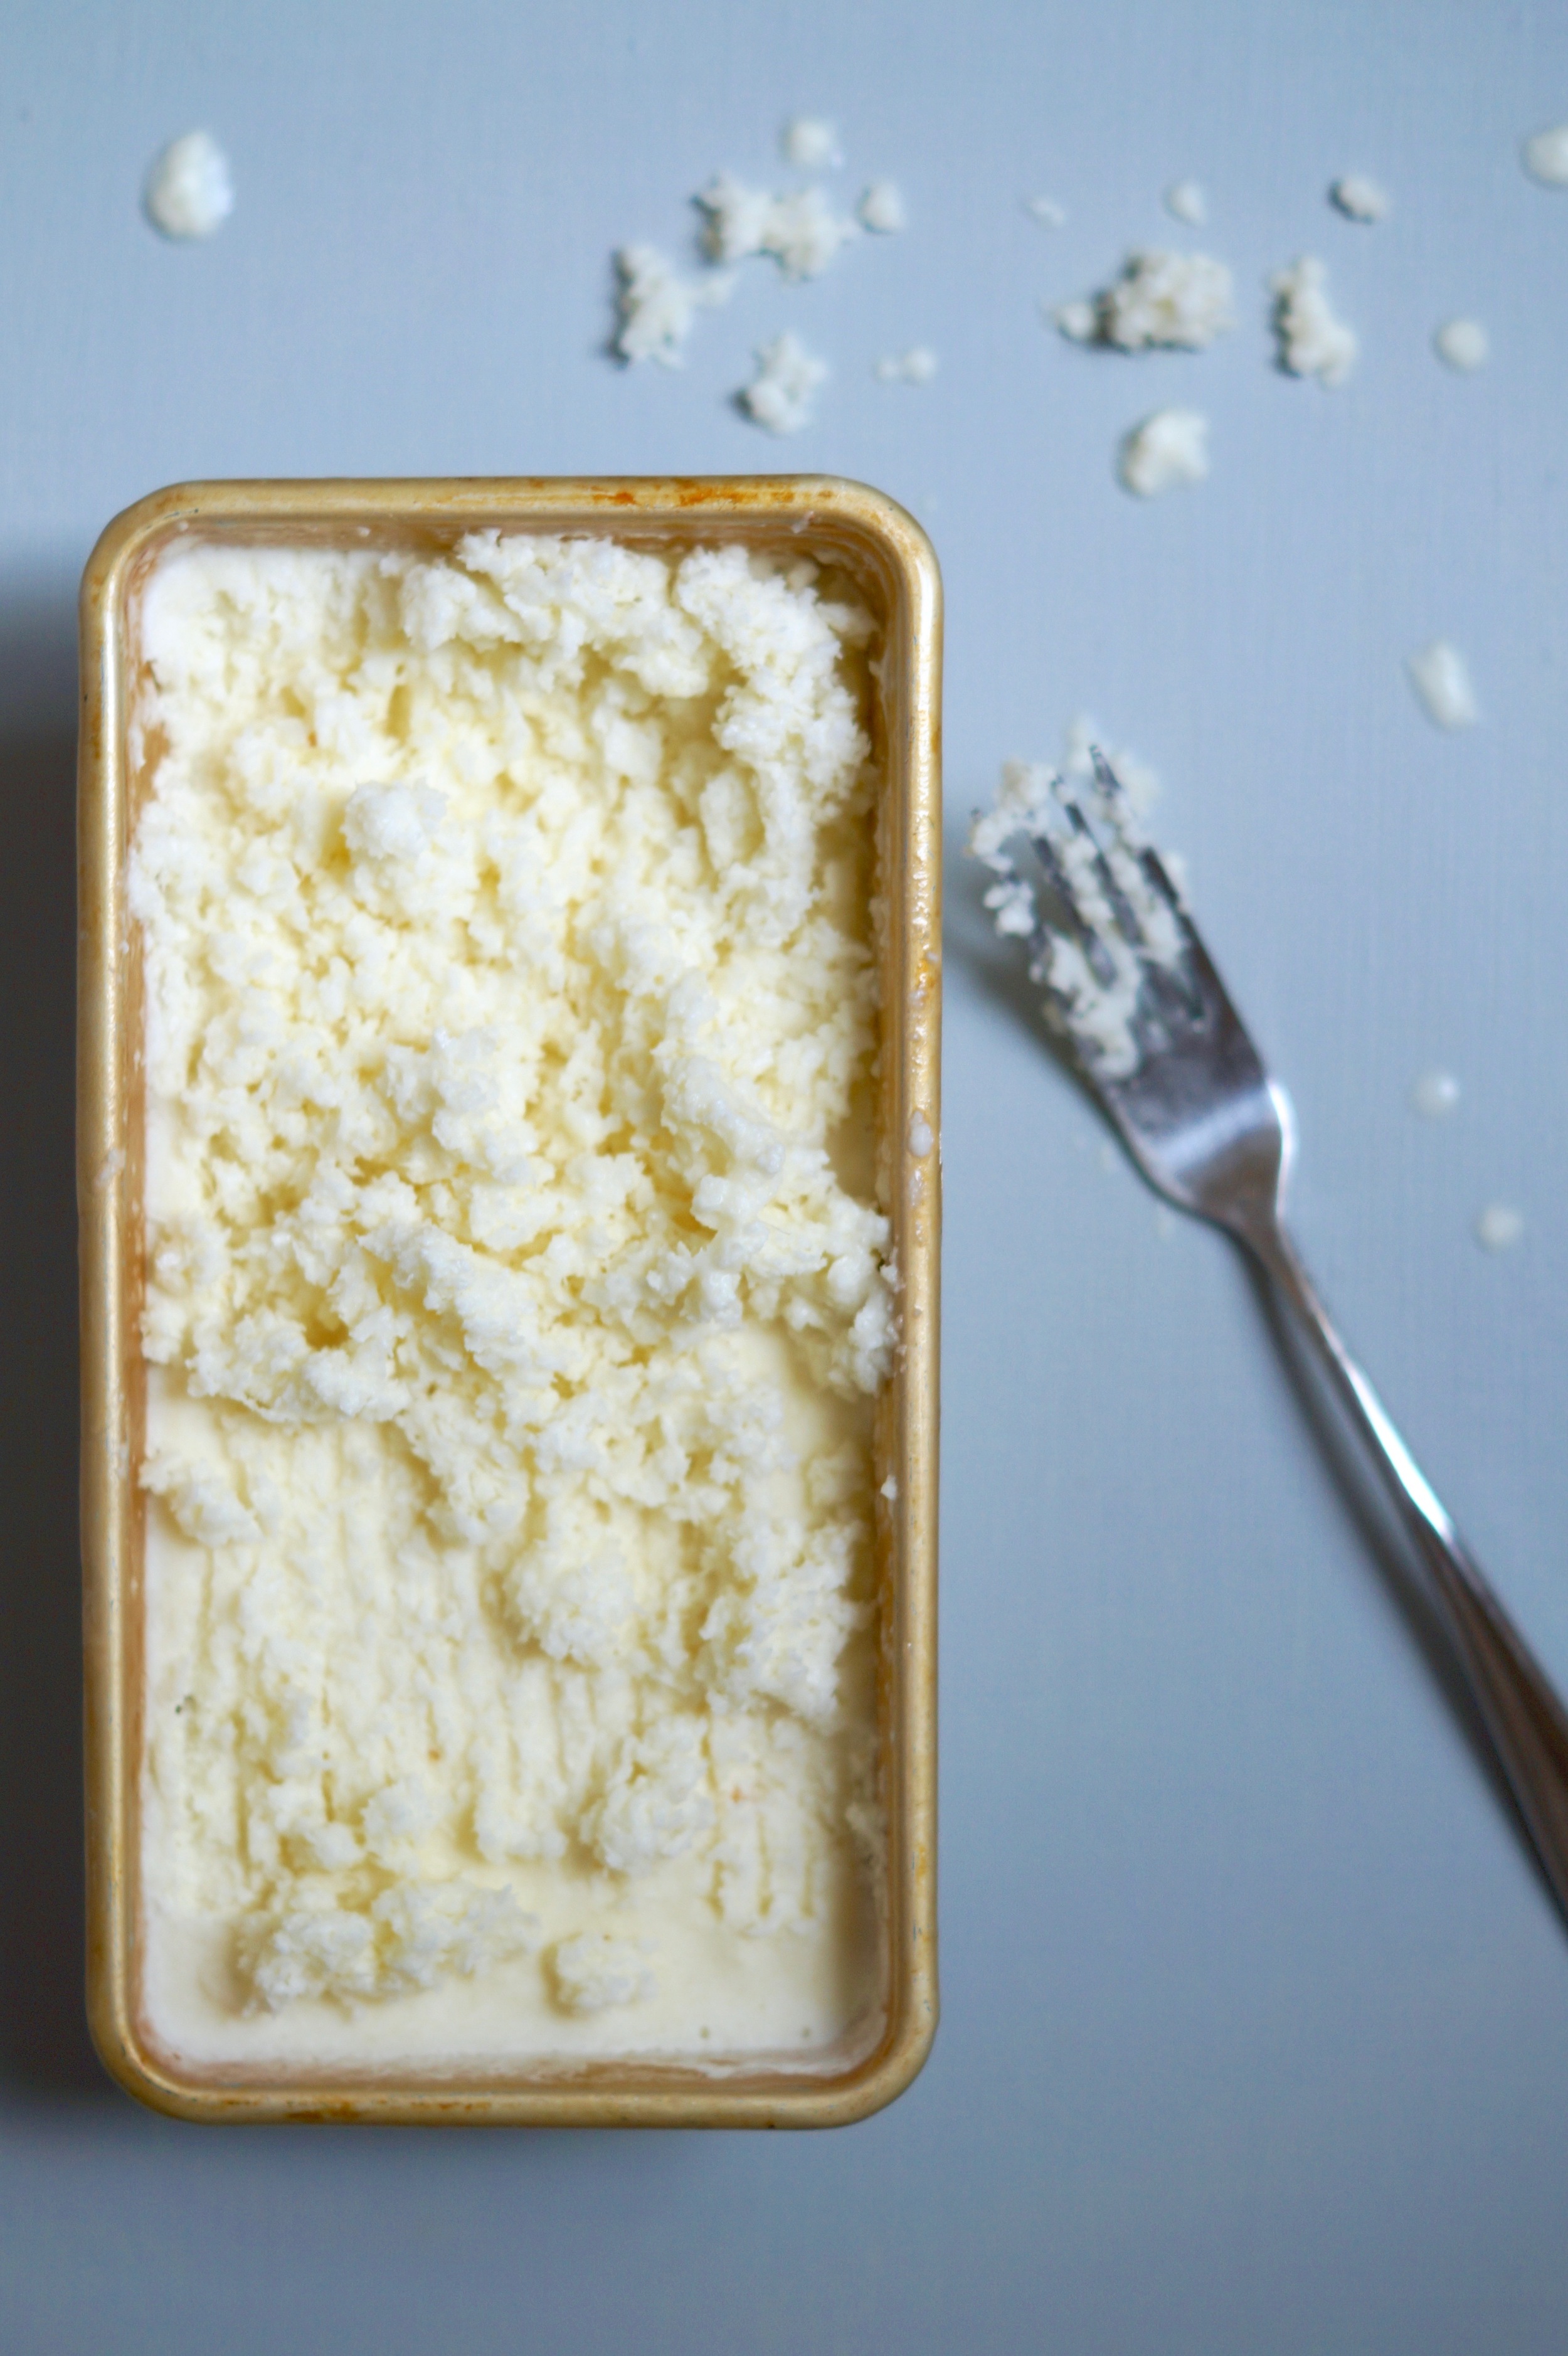
  • Feta cheese, around 50g
  • A couple of large eggs

Pre-heat oven to 180°C/165°C fan/Gas mark 4.

Grease and line a 20cm springform cake tin or liberally oil an ovenable pan of equal size. (A small note on this, I like to serve this straight out of the pan but it does stick, so if you want a clean sliceable finish go for the lined cake tin option.)

Grate the beets, onion and potato, either in a food processor or by hand. mix together with the cornflour, thyme along with a good pinch of salt and pepper. Transfer the mix to your chosen bakeware and press the mix into the tin.

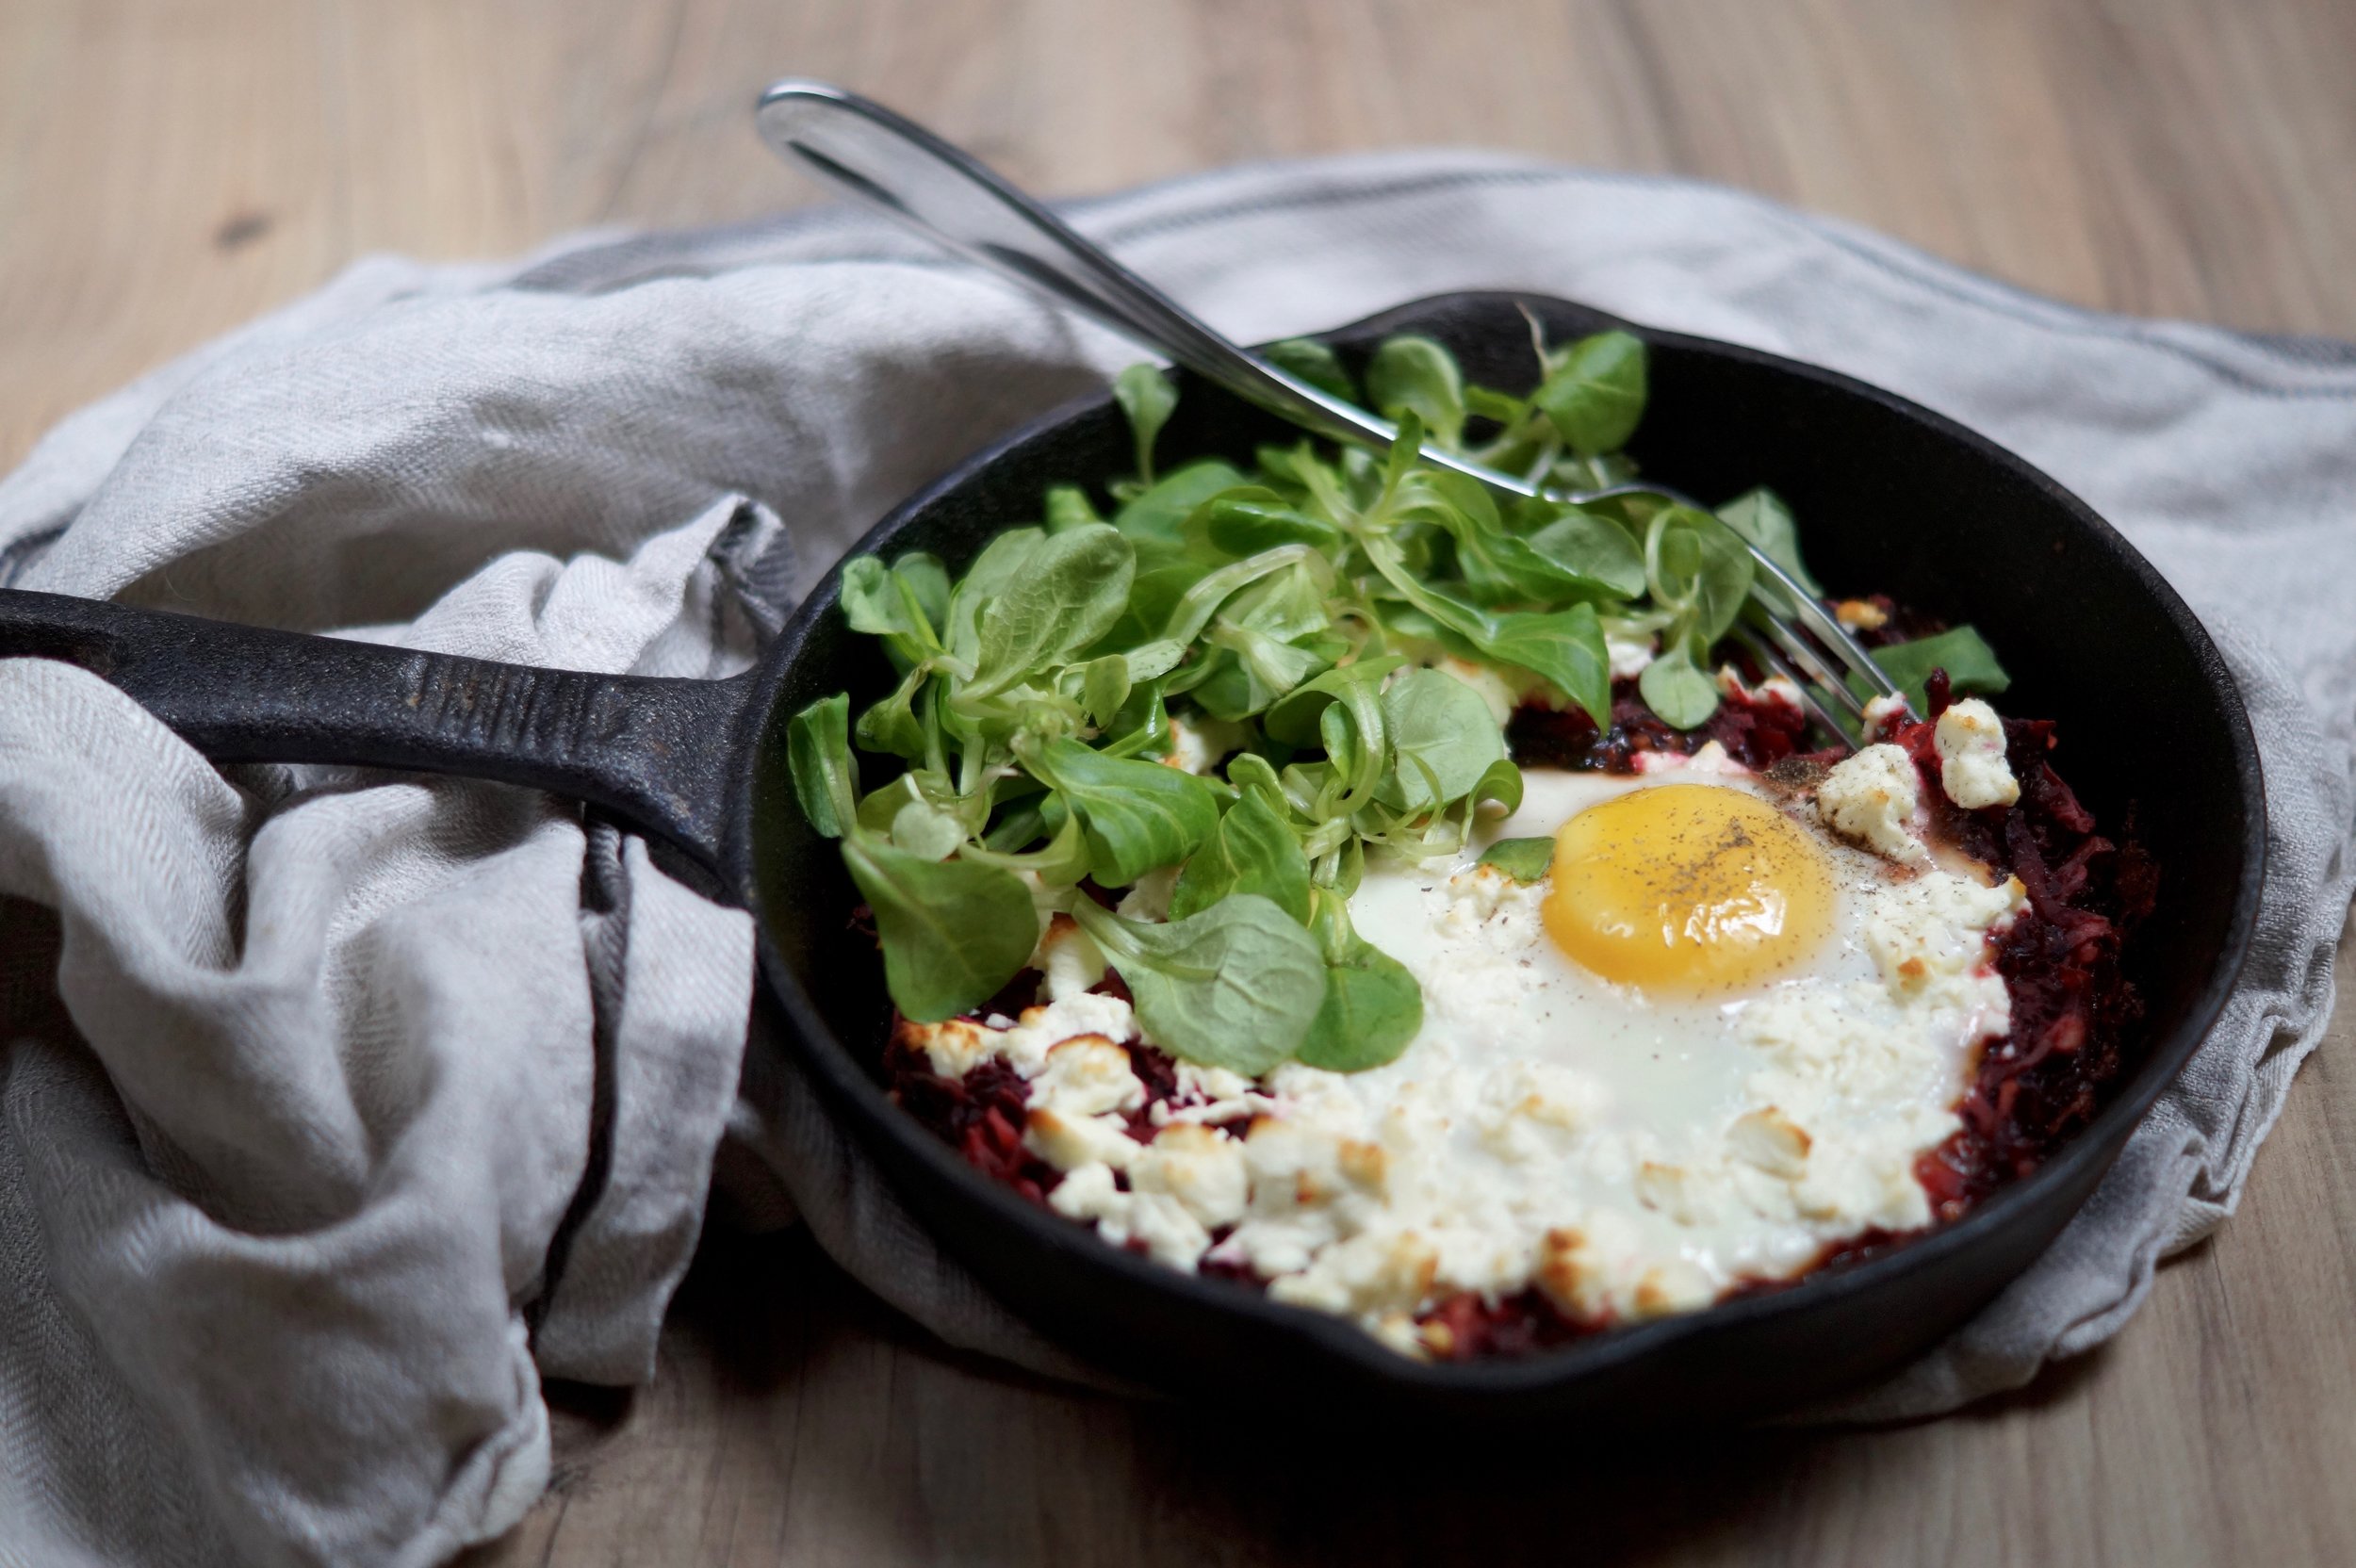
Add a drizzle of olive oil to the top and place into the pre-heated oven. Bake for 25-30 minutes then crack the eggs directly onto the rosti and crumble over the feta. Bake for a further 5-10 minutes or until the eggs are cooked through and the feta just a little golden in colour.

Allow to cool for 5 minutes or so before removing from the cake tin/diving into the rosti straight out of the pan. Serve with obligatory greens.

This serves 2 as a brunch/light lunch or 1 very greedy person, like myself, as a main meal anytime of the day.


Recipe: Pina Colada Granita

Recipe: Pina Colada Granita

If you Like Pina Colada, and getting caught in the rain...

Then i've a rather fabulous recipe for you today. It's been a while since I posted a recipe, my bad. Yes the great British summertime is upon us with ever variable  & inconsistent weather. I'd planned this recipe in for a couple of weeks ago when the weather was scorchio, but hey,  you know, life and stuff intervened. So, here we are, unpredictability abounds and once again we need to pack all the things into the handbag before leaving the house: sunglasses, umbrella, wellies etc. To take or not to take the coat? That is the burning question. Largely if I take the coat I know the weather will be fine, if I decide to chance without it then theres bound to be a full blown thunderstorm. I had quite the comedy moment just a few weeks ago outside Radio Leicester when my golfing umbrella blew clean inside out, I honestly did not know this was possible with a golfing umbrella and i'm fairly sure Mary Poppins didn't have to put up with this sort of shit.

The important thing is Pina Coladas exude summer, and they can be enjoyed in the rain thus making them officially the best cocktail for British summertime. This recipe can be served straight up if it's a bit chilly, but if the weather should take a sudden turn then granita is most definitely the way. Alternatively, this could be made on a rainy day and stored in the freezer until a sunshine occasion should present itself. The decision is yours. 

You will need...

  • 250ml coconut milk
  • 150ml pineapple juice
  • 100g pineapple, peeled and diced
  • 50ml white rum (Optional)
  • 1 tsp sugar or alternative sweetener
  • Pineapple & maraschino cherries to garnish

Place the coconut milk, pineapple, pineapple juice, rum and sugar into a food processor or blender and blitz until completely smooth. Freeze for 1 hour then scrape the frozen edges into the centre with a fork. Repeat this process every half hour until the granita is completely frozen, this should take around 2-3 hours. Store in the freezer until ready to use, to serve scrape the surface of the granita to break up the flakes once more. 

Spoon into glasses and garnish with pineapple, cherries and cocktail umbrellas, if you happen to have them to hand, just in case of rain.


Recipe: Speedy Miso, ginger & lime noodle bowls

Recipe: Speedy Miso, ginger & lime noodle bowls

Inspired by Becca's recent week of vegan I decided to have a go at a recipe of my own. Summer months are made for quick fresh and easy meals. Now I know it doesn't feel much like Summer here in the UK at the moment but trust me this one really is worth a try if you fancy something fresh and healthy of an evening but are short on time. This one takes around 10 minutes to prep, ok, maybe 15 but this is fast, fresh and completely doable midweek after a long day at work. It makes an awesome make ahead pack lunch too, make this on a Sunday eve and you've got lunch sorted for a couple of days .

It's designed to be versatile, feel free to swap ingredients in/out (Shake it all about) depending on what you have to hand in the fridge. Convenience is the aim of the game here, see some ideas for variations below. This recipe serves 2 as a light lunch or 1 as an evening meal - add an extra nest of vermicelli  and an extra handful of sugar snap peas to bulk out to two servings.

You will need....

  • 1 nest of vermicelli rice noodles
  • 1 courgette - spiralized or coarse grated lengthways
  • 2 spring onions
  • a handful of sugar snap peas
  • The zest and juice of 1 lime
  • 2tsp maple syrup
  • 1 tbsp miso paste
  • 1 tbsp soy sauce
  • 1 tbsp toasted sesame oil
  • A thumb sized piece of ginger, grated
  • 1 red chilli, diced with seeds removed
  • 1 tbsp toasted sesame seeds

Place the noodles into a large mixing bowl and cover with boiling water, leave to heat through for 5 minutes. While the noodles are cooking prepare the dressing - whisk together the lime, maple syrup, miso, soy sauce, sesame oil, ginger and chopped chilli. Finely dice the spring onions and chop the sugar snap peas into diamonds. Once the noodles are ready drain off the water and toss together with the courgette and the dressing. Divide between two bowls and sprinkle over the spring onions, sugar snaps and toasted sesame seeds.

Dinner is served.

Variations...

  • Add a few finely sliced radish or a peeled and finely sliced bell pepper for extra crunch,
  • Steamed aubergine makes an amazing addition, its also one of my favourite ways to prepare aubergine, ever. If you've not tried it before give this recipe a bash.
  • If you don't have a lime to hand any citrus fruit will work well here.
  • Nuts and seeds add crunch, texture and protein so toast and sprinkle liberally with whatever takes your fancy. For a pack lunch I recommend packing these separately then sprinkling over  just before serving to maintain the crunch. 

If you have any speedy recipes for fast fresh food we'd love to hear from you, give us a shout in the comments...

Recipe: Granola

Recipe: Granola

So, it's Friday again and suddenly next week sees the arrival of June. Six months into the year and I just can't believe how quickly the weeks have flown by! This is down to being busy, I know. As I type I have a wedding cake in the oven, macarons cooling in the kitchen and a weekend of baking ahead. Being busy is great, especially when working on some very exciting projects with brilliant people (watch this space...) but at the same time I can't help but worry about all the things I've forgotten to do, all the boring chores of daily life that get swept aside whilst I get carried away with the fun stuff.

This has got me thinking about time-saving and morning routines. I'm really not a morning person and It's something I need to get better at. There are a few things I can't go without in the morning to give you an idea, here's how my mornings go down, ideally.

  • 6.30 - press snooze on the alarm several times, eventually wake up, brush teeth and drink a pint of water, try and avoid looking at social media on phone at all costs
  • 7.00 - 20 minutes to half an hour of yoga, depending on how I'm feeling, and on weekends depending on whether I've been to the pub the night before!
  • 7.30 - hit the shower
  • 8.00 - a strong cup of earl grey tea
  • 8.30 - a swift breakfast before heading to work, either at home or with a client
  • 9.00 - coffee, strong coffee. 

Those first few hours are important I think to set me up for the day, although sometimes I have to start work at 6am which means step 2, 3 & occasionally 4 (depending on how many times I've hit snooze) are usually bypassed.

Skipping breakfast is bad right? 

So here's my solution. I always keep a batch of granola on the go. It's a fairly forgiving recipe is open to a variety of modifications to keep it interesting, feel free to experiment with different fruits, nuts and even swap the maple syrup for honey or coconut sugar. It would be rude not to touch on this recipes virtuous qualities, naturally sweetened, wholegrain and with the addition of gluten free oats could be made NGCI also. I find spending half an hour on a Sunday making granola makes a remarkable difference to my working week time-wise and I'm much less likely to skip breakfast!

You will need:

  • 100ml coconut oil
  • 100ml maple syrup
  • 50g nut butter, such as peanut or almond
  • 50g dried dates
  • 150g rolled oats
  • 50g nuts, almond, pecan, brazil nut, whatever you fancy
  • 50g mixed seeds

Pre-heat oven to 145°C (fan). Place the coconut oil, maple syrup, nut butter and dates in a saucepan and melt together over a gentle heat, the dates will soak up some of the oil and syrup to make them extra chewy and gooey. Once melted, stir in the oats, nuts and seeds until evenly coated. Spread the mixture onto a baking tray lined with parchment and bake for 15 to 20 minutes until golden brown. Store in an airtight container for up to a couple of weeks. Combine with yoghurt and fruit in the morning for a swift healthy breakfast, even at 5.30 in the morning!

If you have any time-saving tips for early mornings or any swift recipes then do give us a shout in the comments...


Recipe: Labneh

Recipe: Labneh

I'm never more excited about a weekend than when there is the prospect of a food festival, and this weekend sees the return of what is quite possibly my favourite of all local foodie events. The Melton Mowbray artisan cheese fair. With 61 artisan cheesemakers and over 300 varieties of cheese on sale Its the largest event of it's kind in the uk. Cheese is a bit of a passion in our household and there is some preparation undertaken in advance of this momentous occasion, a strict spending budget needs to be set (To then be ignored!) But most importantly the fridge needs to be cleared to make way for our cheese hoard. This year however we were a little over excited and found ourselves in the preceding week with no cheese. This doesn't happen very often in my house and does induce a certain amount of panic, but fortunately I have an emergency recipe up my sleeve. 

Labneh holds it's origins in the middle east and is created by straining the whey from greek yoghurt. This results in a creamy tangy cheese, texturally it's almost akin to cream cheese but has so much more flavour. Cheesemaking can seem a daunting and highly technical pursuit but this recipe is really very simple, all you need is 2 ingredients, one of which is in fact optional. You also need just a little patience, but the end result is well worth it.

You will need:

  • 500g full fat greek yoghurt
  • A good pinch of salt, around half a tsp (optional)
  • a cheese cloth or jay cloth for straining
  • a wooden spoon and a measuring jug 

Place the yoghurt and salt together in a mixing bowl and stir to combine. Transfer the yoghurt mix into the cheese cloth. Tie up the four corners of the cloth knotting them tightly around the wooden spoon then place the cloth, with spoon attached into the measuring jug, using the wooden spoon to suspend the cloth so the bottom of the straining cheese is a few cm away from the base of the jug. Adjust the tightness of the knotted cheese cloth as necessary to achieve this.

Place the jug into the fridge and allow to strain for 18 to 24 hours, the longer the cheese is left the firmer it will become, go for less time for a creamier texture.

The strained liquid can be used instead of water in the making of a loaf of bread, it will add a creaminess to the finished loaf and create a firmer crust.

Labneh makes an amazing addition to a meze style platter, simply place it into a bowl and drizzle with a little olive oil. I like mine generously slathered over a nice slice of bread, preferably sourdough, and perhaps just a sprinkle of Dukkah just to keep with the middle Eastern theme.

If you are visiting the Melton Mowbray cheese fair this weekend have a great time and hope to see you there!

Homemade labneh

Recipe: Olive Focaccia

Recipe: Olive Focaccia

One of my favourite weekend pastimes is baking. This comes as a surprise to many, as I spend my days creating sweet treats, So this is how I balance it out. My weekdays may be filled with cake, but on the weekends I like to bake bread. I've had a love affair with bread since I first learned the craft whilst working as a pastry chef in a bustling little restaurant in south east Leicestershire. It was soon after that I stopped buying supermarket bread and began to bake my own. Sourdough, ciabatta, cinnamon rolls, challah, anything goes. Although this particular recipe has remained with me since those early days, I know it so well I can remember it off by heart, in fact this will be the first time i've written this recipe down for quite a while. It's the recipe I always return to when all I really want is a simple, delicious slice of bread. 

You will need

  • 500g strong plain flour
  • 1 tsp fast action dried yeast
  • 2 tsp salt
  • 2 tsp sugar
  • 30ml olive oil + 1tbls extra for drizzling
  • 300ml warm water
  • olives, thyme and sea salt to decorate

This recipe makes enough dough to fill a 33cm pizza pan, or a 36 x 25cm baking tray.

Place the flour, yeast, salt, sugar and olive oil into a mixing bowl. Slowly add the water to bind the dough together, you can do this either by hand, with a handheld blender or with an electric mixer. Once you have a wet paste knead the dough for around 5-10 minutes to build up the structure of your dough. You can test the elasticity of the dough by gently pinching and stretching it, if it pulls away to form a thin transparent sheet you know you're there, if it snaps you need to work the dough for a little longer.  Once you have a stretchy elastic dough leave to rest in a warm place for an hour or so.

Once the dough had doubled in size turn it out onto a well floured work surface and roll out to the size of your baking tray. Leave the dough to prove for a further hour or so. In the mean time, preheat your oven to 200

Once the dough has doubled in size, press your fingers into the dough to create indentations then drizzle over the olive oil, herbs, olives and salt.

Bake for 20 minutes, serve warm.

We ate ours with herb crust chicken, sweet pepper and Halloumi salad, watercress, avocado and sundried tomato, and a little homemade pesto.

All photographs by Matt Horan